1. Minimum Requirements of RED HAT RHEL6?
Architecture- These instructions are for installing Red Hat Enterprise Linux 6 (RHEL6) on an IA-32 system (i.e., a 32-bit Intel- or AMD-based system) and Opteron 64-bit systems (x86_64).

Click Here-
Difference between 64-bit and 32-bit Server
_____________________________________________________________________________________________Click Back.. Click Home..
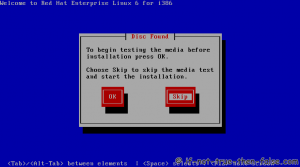
2.Boot the system to install Red Hat Enterprise Linux From a CD-DVD


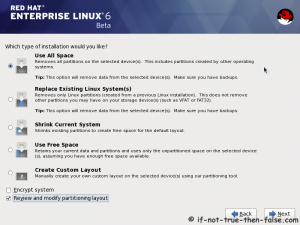
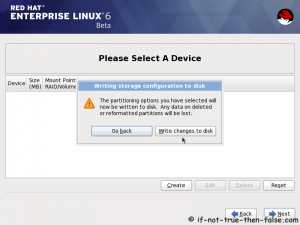
- Use All Space - The entire disk drive will be assigned to the RHEL 6 operating system installation. Any pre-existing partitions, together with any existing operating systems and associated data files contained therein will be deleted to make room for RHEL. This option should only be used if you are absolutely sure you no longer need anything that is currently stored on that disk, or have already backed up all user files.
- Replace existing Linux System(s) - If the drive was previously configured to support a Windows/Linux dual boot environment or was devoted entirely to another Linux installation, this option may be selected to instruct the installer to delete the pre-existing Linux partition and replace it with RHEL 6. Once again, it is important to backup any user data that may still be needed.
- Shrink Current system - Allows an existing partition to be reduced in size to make room on the drive for the RHEL 6 installation. More details on this option are provided in a later chapter entitled Installing RHEL 6 with Windows in Dual Boot Environment.
- Use Free Space - If the current partitions on the drive do not take up the entire disk space available, any unallocated space may be assigned to the RHEL installation using this option.
- Create Custom Layout - When selected, this option displays the disk partitioning tool allowing each partition on the disk to be manually configured. Unless you have experience with low level disk partitioning this option is not recommended.
- On this screen, make a selection based on your requirements. If, for example, the entire disk is to be used for RHEL 6, select the Use All Space option. In order to implement a dual boot configuration, refer to Installing RHEL 6 with Windows in Dual Boot Environment.
|
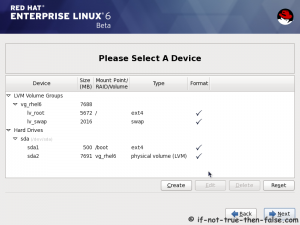
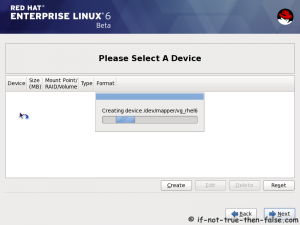
Modify
if needed. Default setup with ext4 and LVM looks good for desktop
machine.
|


27. Red Hat (RHEL) 6 Gnome Desktop, empty and default look

_____________________________________________________________________________________________
Click Back.. Click Home..
